Week One
- May 23, 2018
- 2 min read
Updated: May 24, 2018
Art Bible & Blocking.
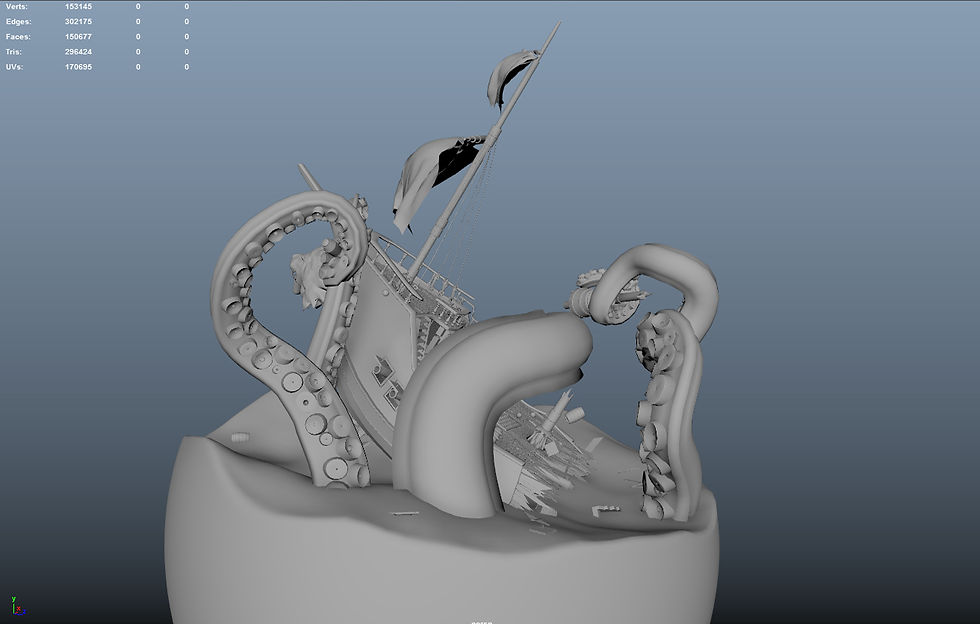
For week one my focus was on creating my art bible and blocking out the basic scene

Art Bible


Block out
The most important part of the block out for me was getting the composition right and keeping to my initial concept from the art bible. Thinking about how many tentacles I needed to make it work without creating too much work for myself. I also wanted to stay true to my early idea making it a humorous vision, giving the octopus a personality, whether its actively making a sailor walk the plank or firing off a cannon into the ship. Giving the scene a little bit more comic value.
When it came to building the geometry, I used simple Boolean functions for the ship. Cutting out shapes from smoothed cylinders and basic manipulated shapes until I was happy with the overall shape. Putting no emphasis on topology as I would be either completely rebuilding or topologizing the assets later on. All the while using references in another window to help with my designs, incorporating little bits from various ships from the sixteen to eighteen hundreds.

Most of the processes in the block out involved extruding and boolean functions, or even just placing shapes with nothing done to them. Like a torus duplicated to represent a rope or my barrel stretched to look like a cannon. Final tweaks for the ship involved setting up a lattice deformer over the whole ship with all the assets selected to start manipulating the overall look into a more fitting shape. Generally making the hull wider, and the cabin section a bit taller, noting that I would be exaggerating these features later on.
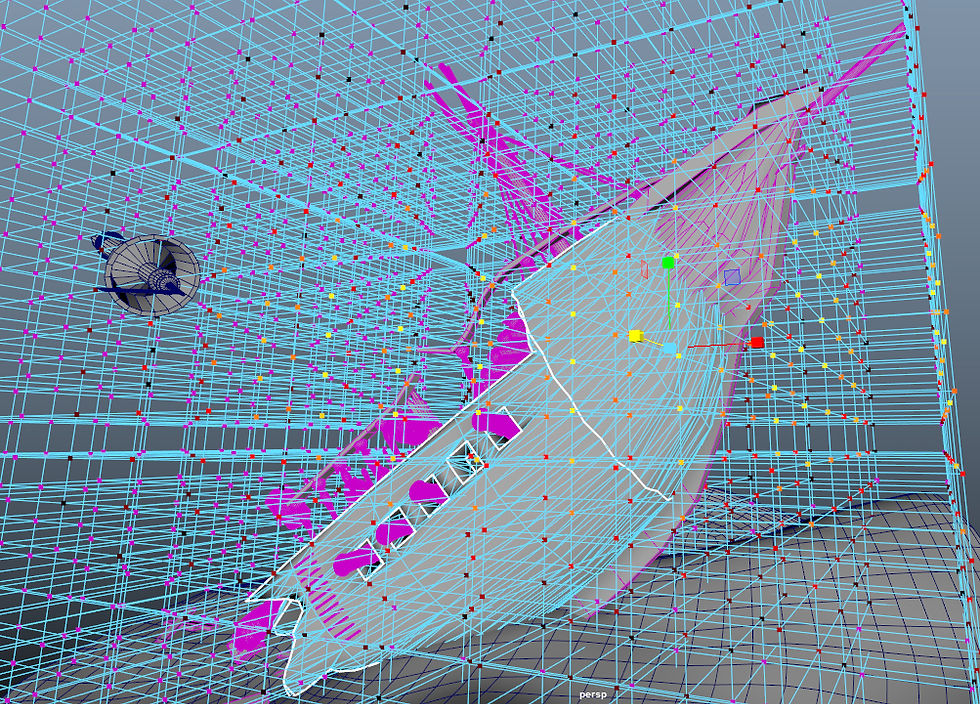
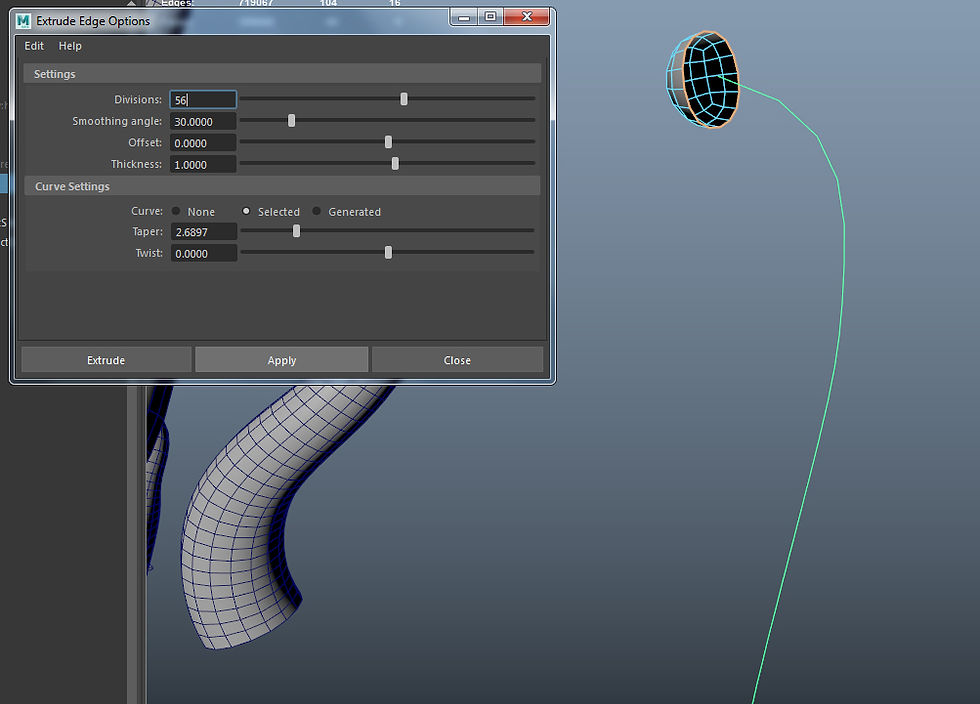
For the tentacles I used curves, manipulating the shape to either wrap around the ship or interact with the scene, then I extruded half a subdivided cube along it with a taper. Once I had the basic shape I was able to use the curves, keeping the history in tact to actively manipulate the shape of the tentacles directly.

Water
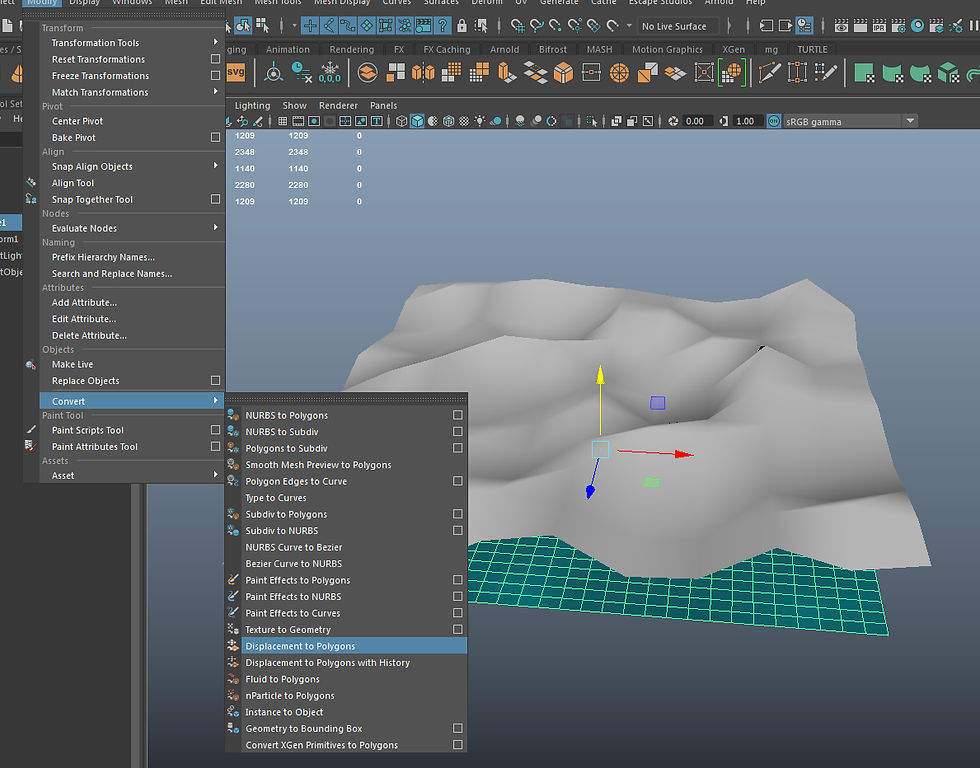
Creating the water was bit more difficult, as I would not be seeing through it I didn’t have to worry about creating much under the surface. I started with a plane, applied an ocean shader then altered the displacement values whilst using a height field link so I could visualise the displacement. When I was happy with the look I used the ‘Convert displacement to poly’ function. From here I used a two Boolean function with a sphere on the plane to make it circular/spherical. Then took it into Zbrush to remesh.
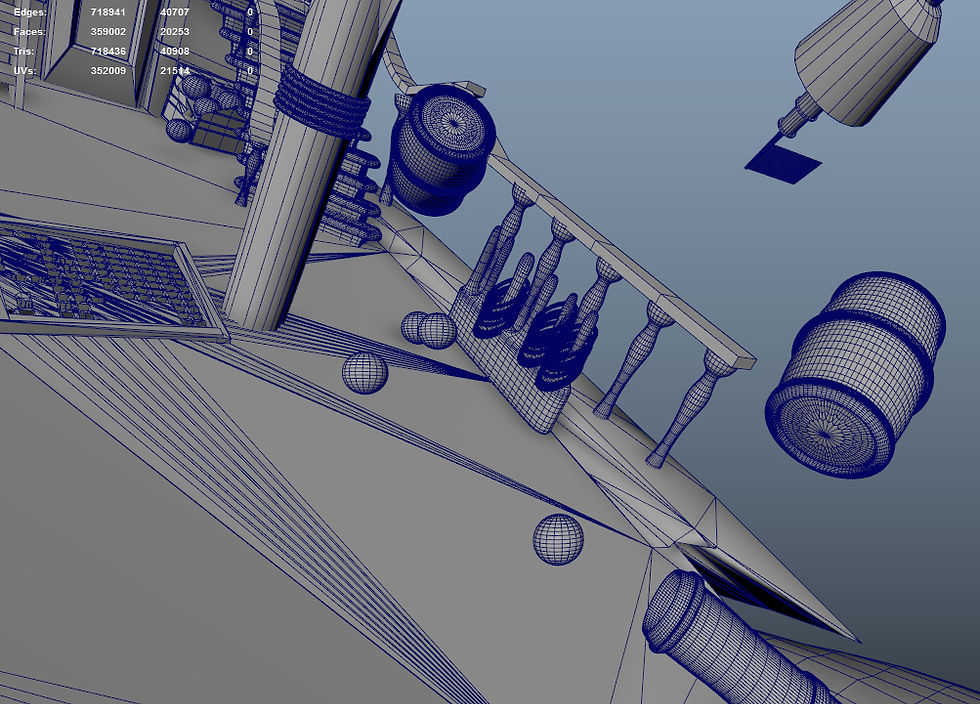
To polish of the scene I started adding debris in and around the ship, replicating assets and chucking them around, creating a more dynamic picture of what was happening on the ship.

The final step in the process for week one was to check the scale in unreal Engine, importing the whole scene as an FBX combined mesh. I put in some blocking volumes so I could run around, then started scaling accordingly. Once the diorama was to scale I exported it as an FBX to be used as a reference for building the real ship.
Complete block out


Comments